Work/Leave Patterns
Usage
The Work Pattern function allows the facility to enter Leave codes and Shift Codes. This allows any regular patterns of leaves, for example Study Days, to be entered as a continuing pattern as well as entering all set work patterns for non-clinical staff i.e. administration staff working 9am – 5pm.
Creating a new Work Pattern
To add a new Work Pattern
for a single shift only or multiple
shifts in one day, click New and complete the required fields.
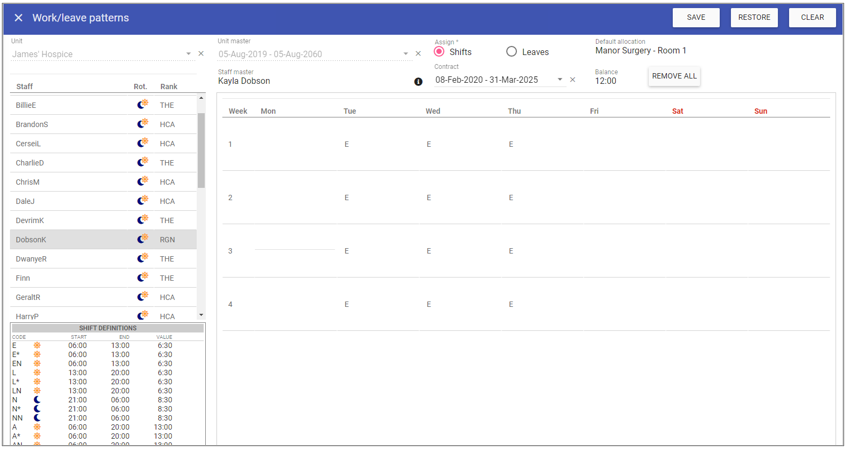
Unit: The unit to add the work pattern to.
Unit Master: The units contract information.
Shifts: The default selection allows the addition of regular shifts as work patterns.
Leaves: Allows you to setup regular days off for certain staff, this must only be used for leaves with no time value.
Default allocation: A default room allocation will be displayed here if it has been set up in Staff Maintenance > Units.
Work Pattern – Balance: The balance will automatically be calculated and appear in the balance field when each shift/leave is added.
The balance is based on hours per week x number of weeks in a rota for the selected unit.
![]() Hover over the information (i) symbol to show how to duplicate entries using left and right arrow keys.
Hover over the information (i) symbol to show how to duplicate entries using left and right arrow keys.
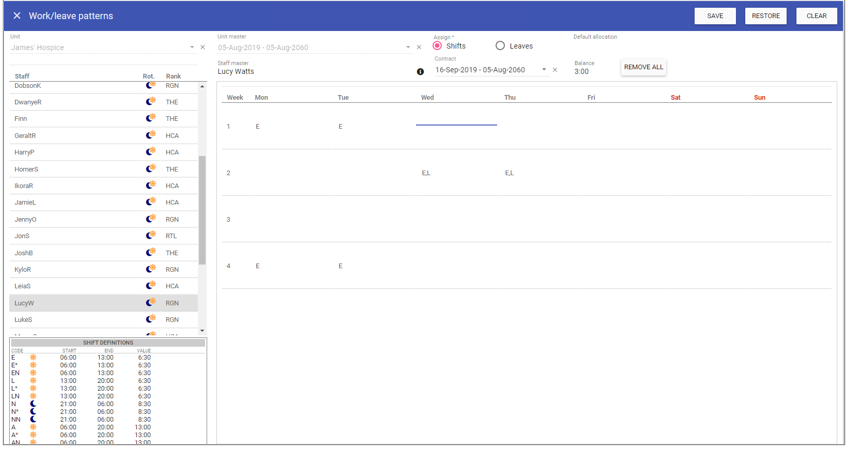
A list of staff members that are assigned to the selected unit are displayed.
Click on an individual staff member to create a work pattern for them.
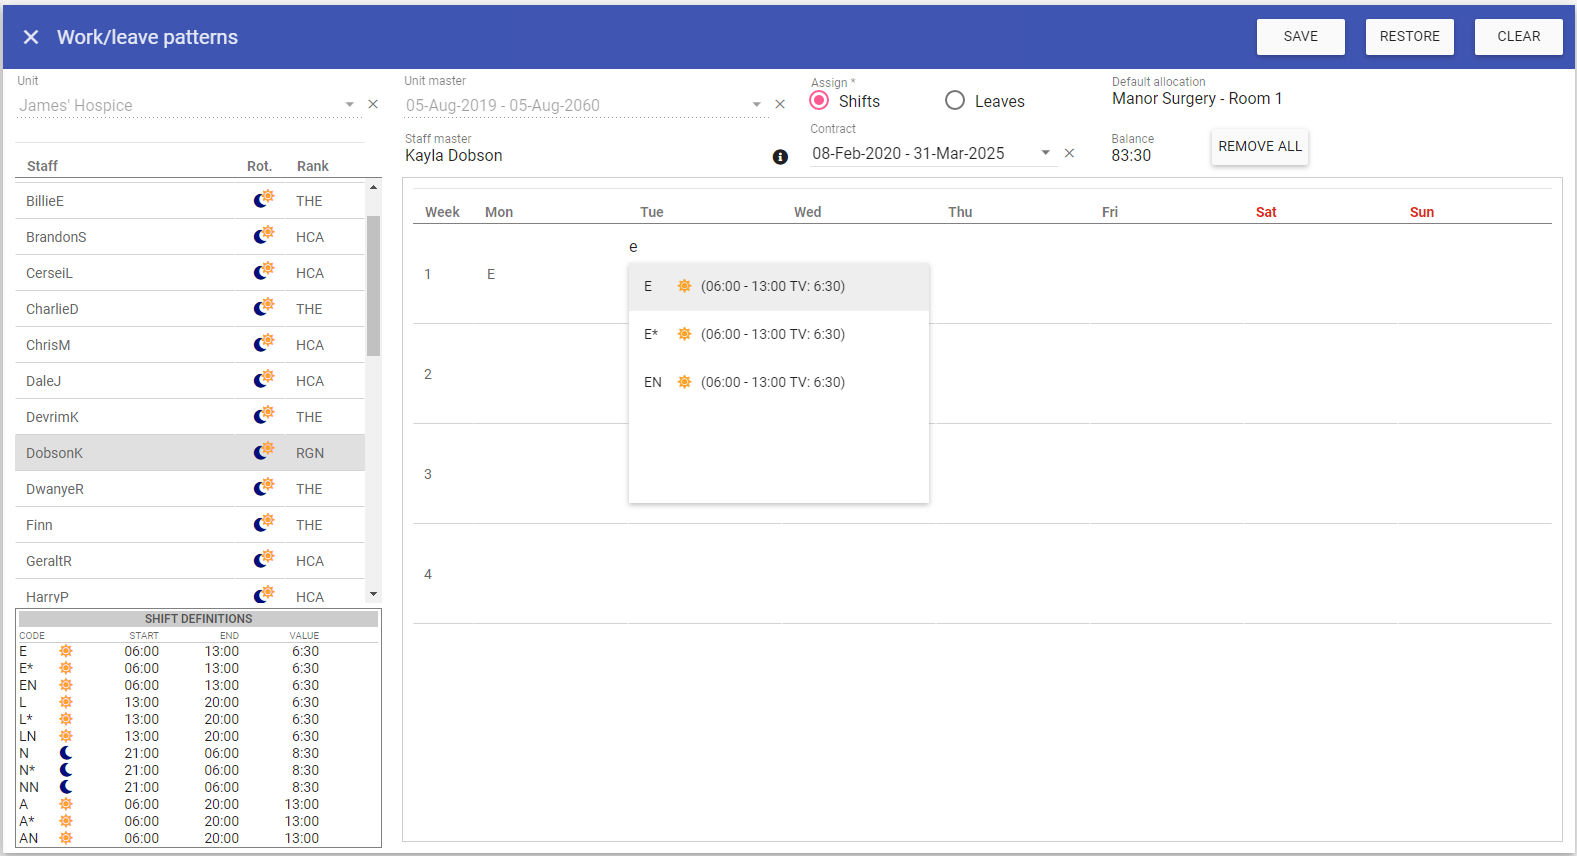 Click inside the corresponding day/week fields to enter a shift/leave entry to be created as a work pattern, i.e. E shift, a list
will appear so that you can select the correct one. To move to another cell either click in the new cell or press the tab key to move to the next cell.
Click inside the corresponding day/week fields to enter a shift/leave entry to be created as a work pattern, i.e. E shift, a list
will appear so that you can select the correct one. To move to another cell either click in the new cell or press the tab key to move to the next cell.
For multiple shifts to be added, press enter after inserting the first shift and start typing again to add a second shift to that day, press tab to move to the
next day or click on the next day you wish to enter a shift for.
 Click on the Save button at the top of the screen.
Work Patterns on the Rota
Shift entries made through Work Patterns initially appear on the unsaved Rota with a Lime background colour.
Note: Work patterns are only displayed like this with the Lime background colour on unsaved
rota's only! If the rota has been saved the work pattern won't show until you access the next unsaved rota.
 Changes can be made by clicking on the shift and modifying as per a manually added shift.
Once a rota has been saved, the entries will be coloured with a black background as per a manually added shift.

Deleting a Work Pattern
1. Select the required cell that contains a work pattern shift/leave entry.2. Delete the entries in the desired work pattern cells. Note: If the work pattern changes, you could just delete only the work pattern desired. E.g. The Monday shifts only.
3. Click save at the top of the page .
4. A message appears saying that the work pattern has been saved.